Sunday, April 8, 2018

Finnabair Patina Paste - Scrap Matrix Design Team

Hi Everyone, 

I am here with you today to bring with you my second project for the Scrap Matrix Texture Challenge. This project is a mixed media canvas which showcases Finnabair Patina Pastes and also highlights recycling a few things that perhaps could have been destined for the rubbish bin. 


So when I mention recycling I ask you to take a little look at the below photo, you will see wool, lace and packaging. This has all been adhered down with 3D gloss gel. The wool can be a little tricky, it requires a bit of work and manipulation but once it is down and set it is well and truly set. 


To the sides of my canvas I adhered strings of dangly curtain screen pieces. Sorry, this name is not too descriptive is it? I bought a whole screen of these dangly things, I think they may date back to the 70's. 


Through a stencil apply some Finnabair Modeling Paste to your canvas. The stencil I have used below is old stock from the Finnabair line. Any stencil could be used here as long as you are giving some texture to your canvas. There are so many gorgeous stencils in the Scrap Matrix store to choose from. 


After allowing ample time for the modelling paste to dry it is time for the fun part to start. It is time to start applying the patina pastes. For my background you will see the main colour is the bronze, I dabbed and dabbed and dabbed until the canvas was coloured in all the cracks. Once this was dry I lightly applied the lighter blue and green colours until I was happy. I used both a brush and my finger. 


Cannot help myself, I am back again with my glossy accents raised dots. Once these were dry I gave them and other raised area on my canvas a light rub with Metalliqe Wax in Vintage Gold


Here we have one of my husbands old paint brushes, this was destined for the rubbish bin. I decided to rescue it. 


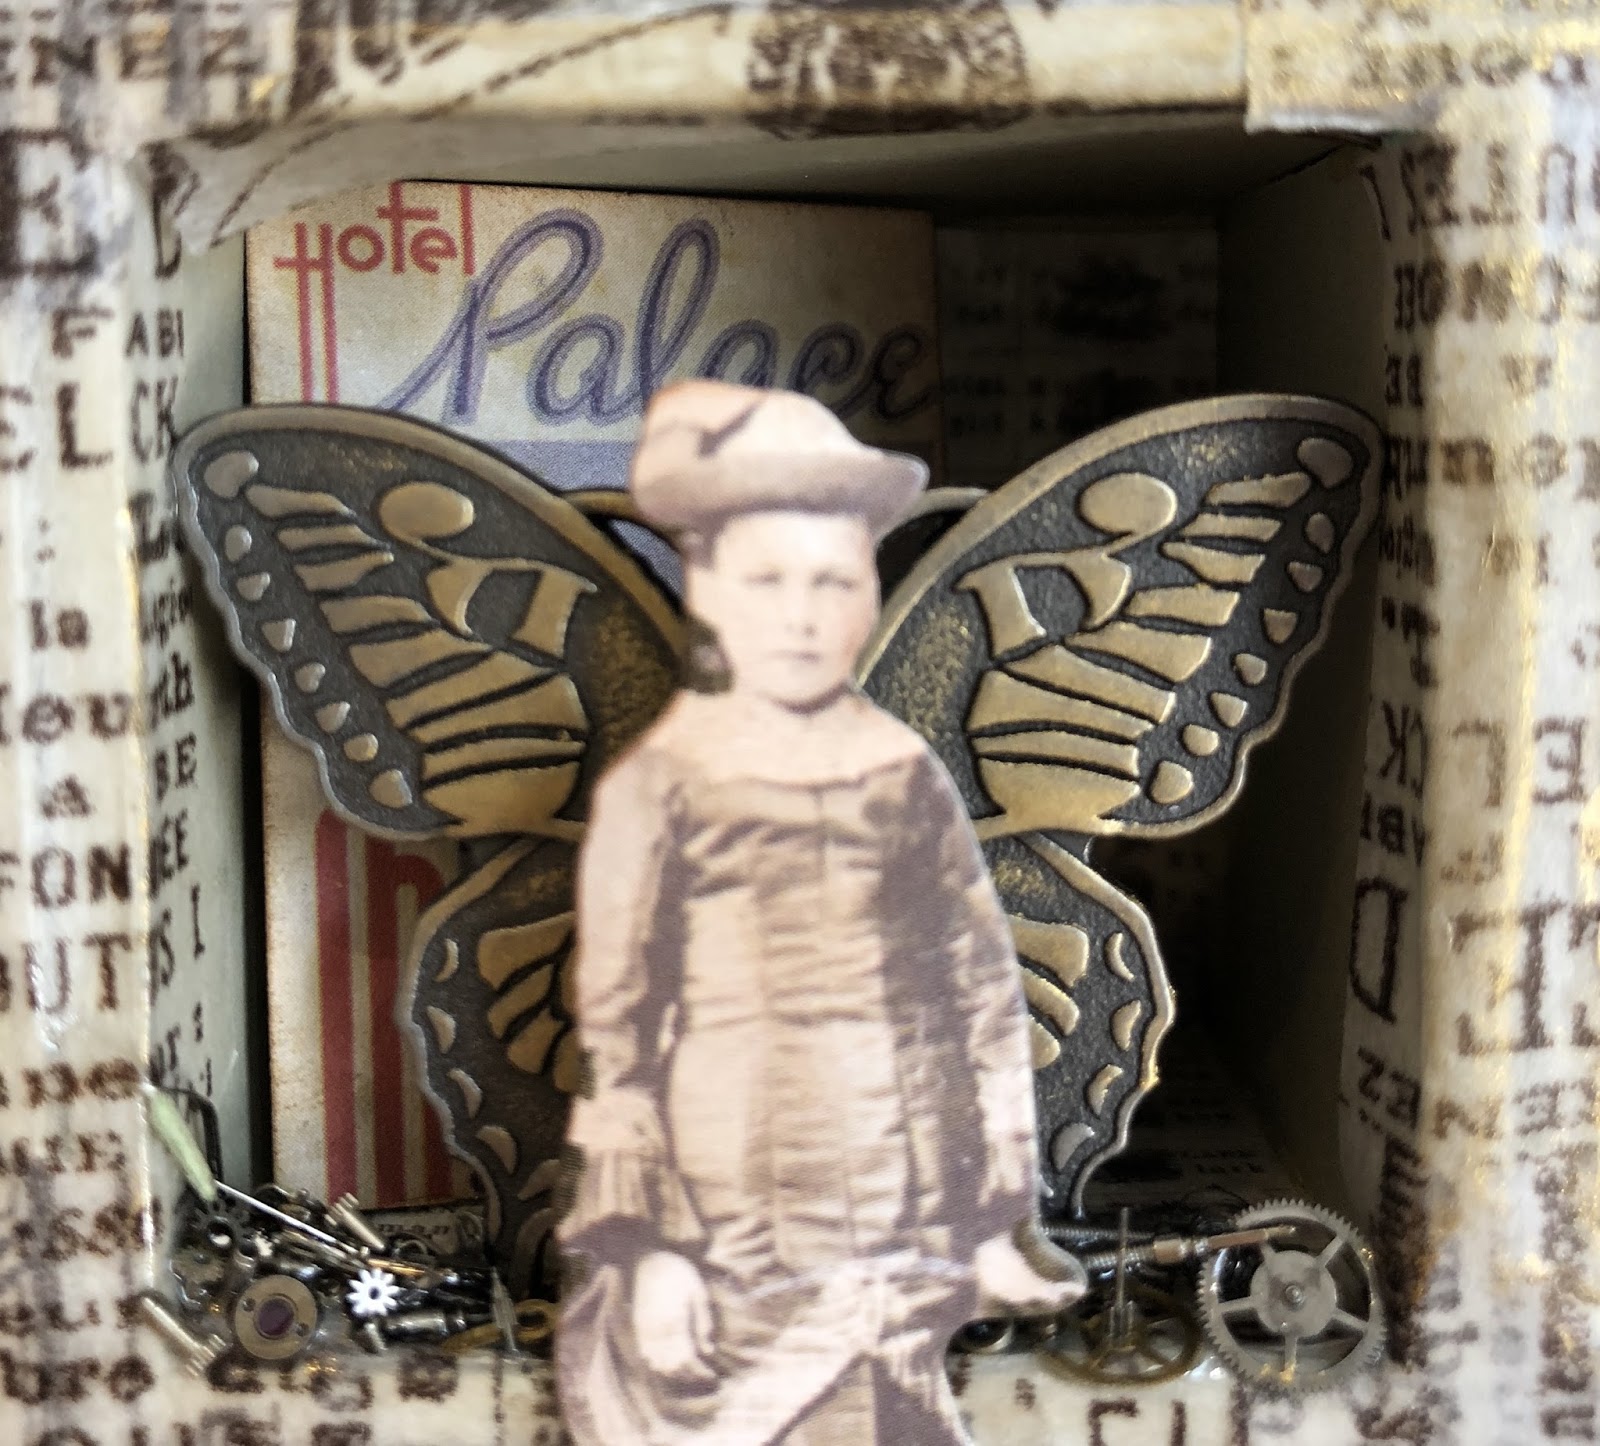
I made an embellishment stack using bronze embellishments from the Scrap Matrix Store. 


A coat of clear gesso must be applied to the brush prior to the patina paste. The gesso will give the brush tooth for the patina to stick to. NOTE - the little clay face is one I made myself with a mould and some Fimo. 


Patina to my brush and then adhere brush to the canvas, and you are DONE! :-) 


Who is out there and feeling a little mixed media inspired? as you can see this project 'may' look complicated but it is actually quite simple to put together. I urge you to step outside of your comfort zone. 

Wishing you a happy and creative day. 

~ Rebecca ~


Scrap Matrix Products Used

Saturday, March 24, 2018

Texture Challenge - Scrap Matrix Design Team

Hi Everyone, 

I am here with you today to share my Design Team project for the 'Show Us Your Texture' Challenge Share. This challenge was one I was super looking forward to, it meant a lot of options were open to push the creative mind. I had not ever used the Finnabair Art Extravagance Patina Effect Paste Set, may I tell you that this set is totally AMAZING and can work wonders. 

I took my little bland beige coloured horse and transformed it into a vintage looking animal of wonder (well I think so anyway). 
In the back ground you can see chipboard cogs, watch pieces and brass bits and pieces. These have all been given a touch Tim Holtz Vintage Photo and  Finnabair Art Alchemy Wax in Vintage Gold.
 

Below you can now take a mini tour around and a few close up shots....


Scattered micro beads and small watch parts add extra dimension. 


How awesome are these Scrap Matrix Box Corners? - LOVE THEM!!


Thank you so much for taking the time to visit today, I wish you all a happy and creative weekend. 

~ Rebecca ~


Scrap Matrix Products Used

Thursday, March 8, 2018

Tim Holtz Mixed Media Canvas for Scrap Matrix

Hello Everyone, 

I am here today to share with you all my second Ranger post for our Ranger challenge month. This time I would like to bring to you a mixed media burlap canvas. I so love how the Tim Holtz Ideology range can all match so well, product to product, it just seems to blend seamlessly. I just cannot get myself enough Tim products, I love them so much. 

The project began life as a simple burlap canvas. I dipped a gesso brush into some white gesso and randomly painted some around the main part of the canvas and the sides. 


Strips of paper and tissue tape were adhered using 3D Gloss Gel.


I cut a square of paper and adhered down with thin double sided tape some Tim Holtz Ideology film strip ribbon.  


I then began audition my Tim Holtz Idealogy Ephemera on my square, just randomly layering. When I had a good base and design, everything was adhered down to the paper. 


A small amount of Art Basics Copper Crackle was placed around the canvas with a dot stencil. 


To finish I added some Tim Holtz Paper Dolls,  German Scrap, and Scrap Matrix Metal.  These elements all received a very light touch of Art Alchemy Metallique Wax in Antique Gold. 


Many thanks for stopping by the Scrap Matrix blog today. Have you entered our Ranger challenge yet? you still have one week to do so. I very much look forward to seeing your creations. 

I wish you all a happy and creative day. 

~ Rebecca ~ 


Scrap Matrix Products Used


Saturday, February 24, 2018

Tim Holtz Configuration Box - Scrap Matrix Design Team

Hello Everyone,

I am here today with you to share a created Tim Holtz configuration box. I cannot lie, Tim is my crafting hero, I feel we may be kindred spirits. I love ALL Tim Holtz products, I cannot get enough of them and will happily admit I have a good stash to stare at and admire. 

This box is packed with Idea-ology product and Scrap Matrix metal, combined also with my personal stash and vintage bits and pieces I had here in my craft room.  I do apologise in advance as this blog post is a little heavy on the photos, I wanted to ensure you all got a very good look around the entire box. 

For this project I have used a Tim Holtz configuration box from my stash, however you can use other things to create a project like this such as printers trays, jewellery box trays, boxes etc. Think outside the box (literally). 


I urge you to look through the close up photos below to see what can actually be used in a project like this. There are items that were destined for the bin, they actually look good here - buttons, champagne metal top, rusty thimble, watch parts, light bulb from my Mum's Rav 4, broken jewellery chain. Never ever be afraid to experiment. 


May thanks for checking into the blog today to take a look at my project. Please if you have any questions at all do not be afraid to get in touch and ask. I look forward to seeing all your creations in the Scrap Matrix Ranger challenge this month. 

Wishing you all a happy and creative day.

~ Rebecca ~


Scrap Matrix Supplies Used


Thursday, February 8, 2018

7 Dots Studio Paint Chips - Mixed Media Canvas for Scrap Matrix

Hello Everyone,

I am here with you today to share my second project for the holiday challenge this month with Scrap Matrix. Now I know you will be looking at the below mixed media canvas and thinking, hmmm Rebecca, what does this exactly have to do with holidays?. Well, it was created during the school holidays, this still kind of counts right?. I really wanted to take the 7 Dots Studio Paint Chips collection and apply to bright and funky canvas. I know this is a little on the different side but I am happy with the results. It is good to step out of your comfort zone. 

Here is a side view of the canvas...

To begin my canvas I adhered Paint Chips paper to the canvas, the main base and all the edges.


I really didn't like the clean white edges so decided to cover them in tissue tape. Tissue tape sometimes does not stick down too well, to ensure complete adhesion I used double sided tape underneath it. 


The Prima 'Paint Splatters' stamp set worked so well with this collection. Random stamping around the main part of the canvas and the sides. 


Finnabair Art Basics Soft Gloss Gel was applied to the canvas through a stencil.


When the Soft Gloss Gel was later dry I added a touch of Art Alchemy Metallique Wax in Vintage Gold. As I wanted the dots to pop a little more I traced around them a black water pencil then smudged it a little with my finger and water. You will see here in the bottom corner beautiful box corners which are also available in the Scrap Matrix store. 


Art Extravagance Texture Paste in colour Graphite was then applied throughout the gaps around the canvas and also to the sides of the canvas. This paste although grey when you look in the tub, it does dry get black (as you can see). 


My flowers were created using a combination of Paint Chips die cut paper, old spoons, zipper flowers and seed beads. 

Thank you everyone, I hope you enjoyed my little step by step through this creation. There is still a few days to enter our Holiday Challenge, looking forward to seeing more of your creations.

Wishing you a happy and creative day.

~ Rebecca ~


Scrap Matrix Products Used