Showing posts with label Mixed Media. Show all posts

Sunday, April 8, 2018

Finnabair Patina Paste - Scrap Matrix Design Team

Hi Everyone, 

I am here with you today to bring with you my second project for the Scrap Matrix Texture Challenge. This project is a mixed media canvas which showcases Finnabair Patina Pastes and also highlights recycling a few things that perhaps could have been destined for the rubbish bin. 
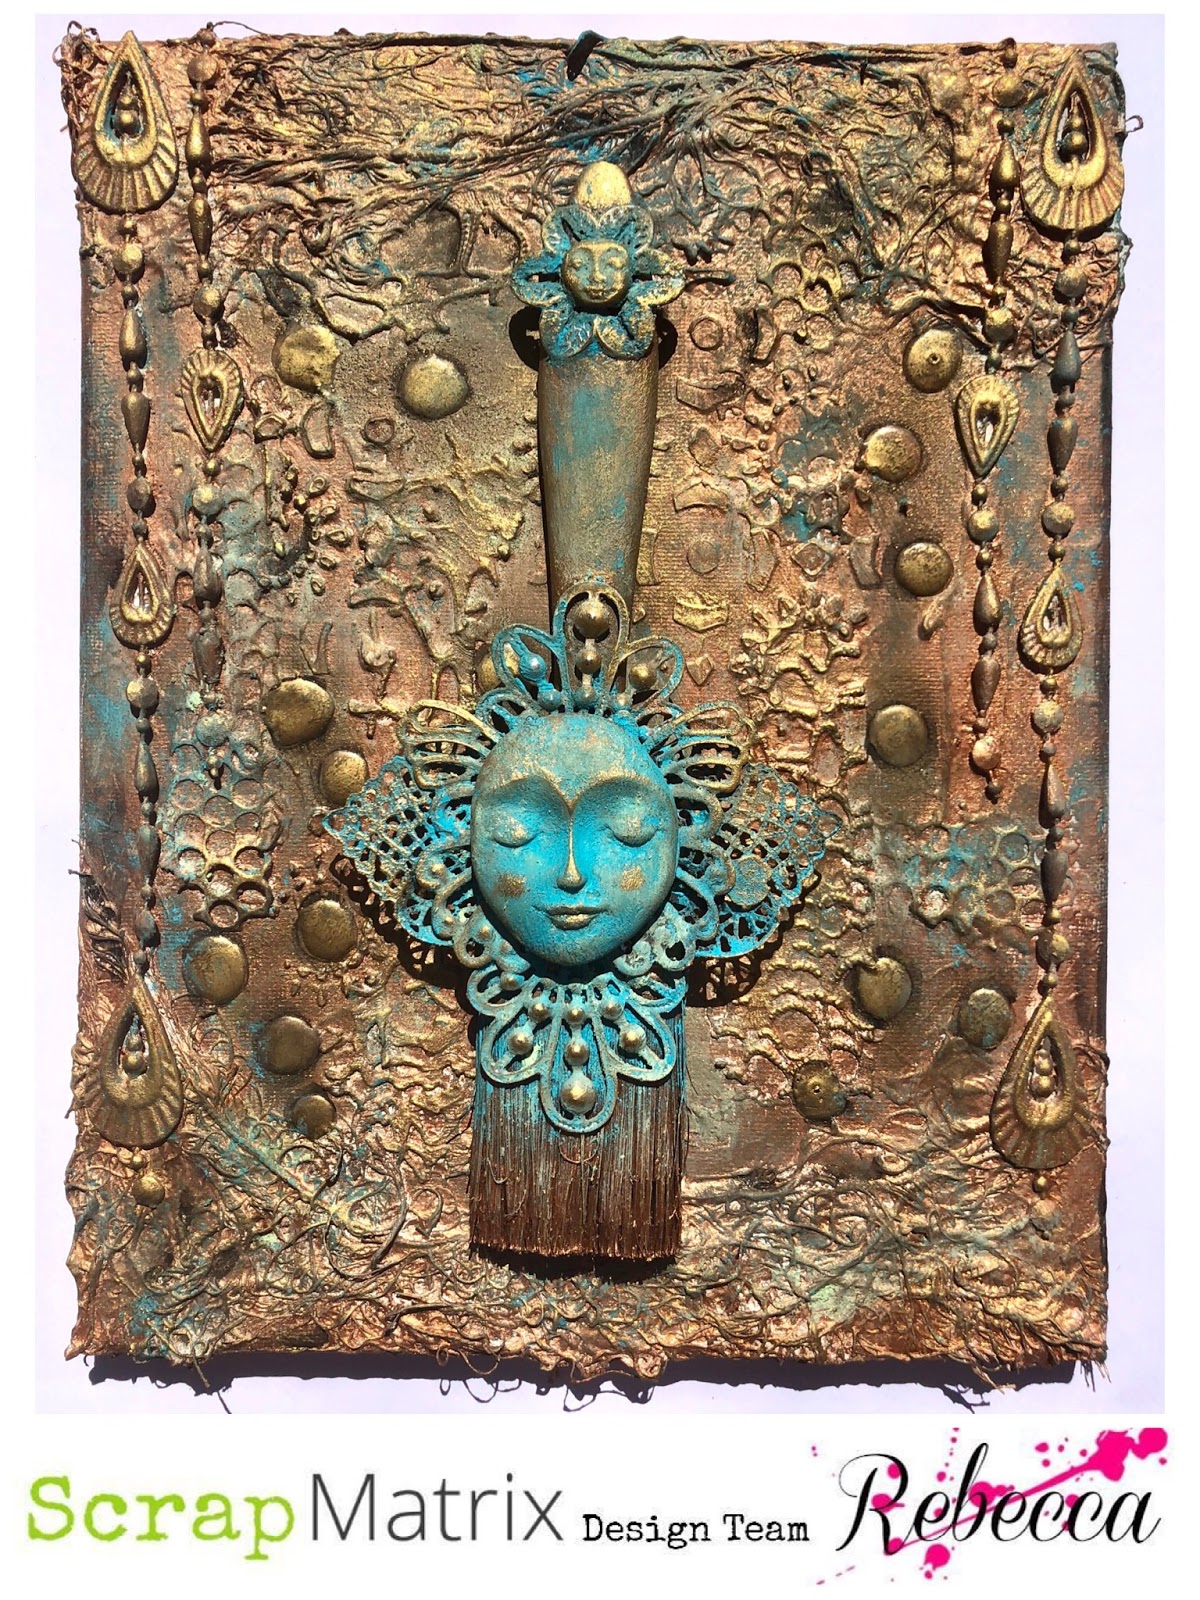

So when I mention recycling I ask you to take a little look at the below photo, you will see wool, lace and packaging. This has all been adhered down with 3D gloss gel. The wool can be a little tricky, it requires a bit of work and manipulation but once it is down and set it is well and truly set. 


To the sides of my canvas I adhered strings of dangly curtain screen pieces. Sorry, this name is not too descriptive is it? I bought a whole screen of these dangly things, I think they may date back to the 70's. 


Through a stencil apply some Finnabair Modeling Paste to your canvas. The stencil I have used below is old stock from the Finnabair line. Any stencil could be used here as long as you are giving some texture to your canvas. There are so many gorgeous stencils in the Scrap Matrix store to choose from. 


After allowing ample time for the modelling paste to dry it is time for the fun part to start. It is time to start applying the patina pastes. For my background you will see the main colour is the bronze, I dabbed and dabbed and dabbed until the canvas was coloured in all the cracks. Once this was dry I lightly applied the lighter blue and green colours until I was happy. I used both a brush and my finger. 


Cannot help myself, I am back again with my glossy accents raised dots. Once these were dry I gave them and other raised area on my canvas a light rub with Metalliqe Wax in Vintage Gold


Here we have one of my husbands old paint brushes, this was destined for the rubbish bin. I decided to rescue it. 


I made an embellishment stack using bronze embellishments from the Scrap Matrix Store. 


A coat of clear gesso must be applied to the brush prior to the patina paste. The gesso will give the brush tooth for the patina to stick to. NOTE - the little clay face is one I made myself with a mould and some Fimo. 


Patina to my brush and then adhere brush to the canvas, and you are DONE! :-) 


Who is out there and feeling a little mixed media inspired? as you can see this project 'may' look complicated but it is actually quite simple to put together. I urge you to step outside of your comfort zone. 

Wishing you a happy and creative day. 

~ Rebecca ~


Scrap Matrix Products Used

Thursday, February 8, 2018

7 Dots Studio Paint Chips - Mixed Media Canvas for Scrap Matrix

Hello Everyone,

I am here with you today to share my second project for the holiday challenge this month with Scrap Matrix. Now I know you will be looking at the below mixed media canvas and thinking, hmmm Rebecca, what does this exactly have to do with holidays?. Well, it was created during the school holidays, this still kind of counts right?. I really wanted to take the 7 Dots Studio Paint Chips collection and apply to bright and funky canvas. I know this is a little on the different side but I am happy with the results. It is good to step out of your comfort zone. 

Here is a side view of the canvas...

To begin my canvas I adhered Paint Chips paper to the canvas, the main base and all the edges.


I really didn't like the clean white edges so decided to cover them in tissue tape. Tissue tape sometimes does not stick down too well, to ensure complete adhesion I used double sided tape underneath it. 


The Prima 'Paint Splatters' stamp set worked so well with this collection. Random stamping around the main part of the canvas and the sides. 


Finnabair Art Basics Soft Gloss Gel was applied to the canvas through a stencil.


When the Soft Gloss Gel was later dry I added a touch of Art Alchemy Metallique Wax in Vintage Gold. As I wanted the dots to pop a little more I traced around them a black water pencil then smudged it a little with my finger and water. You will see here in the bottom corner beautiful box corners which are also available in the Scrap Matrix store. 


Art Extravagance Texture Paste in colour Graphite was then applied throughout the gaps around the canvas and also to the sides of the canvas. This paste although grey when you look in the tub, it does dry get black (as you can see). 


My flowers were created using a combination of Paint Chips die cut paper, old spoons, zipper flowers and seed beads. 

Thank you everyone, I hope you enjoyed my little step by step through this creation. There is still a few days to enter our Holiday Challenge, looking forward to seeing more of your creations.

Wishing you a happy and creative day.

~ Rebecca ~


Scrap Matrix Products Used 


Tuesday, January 27, 2015

Steampunk Style Mixed Media Canvas - Flying Unicorn

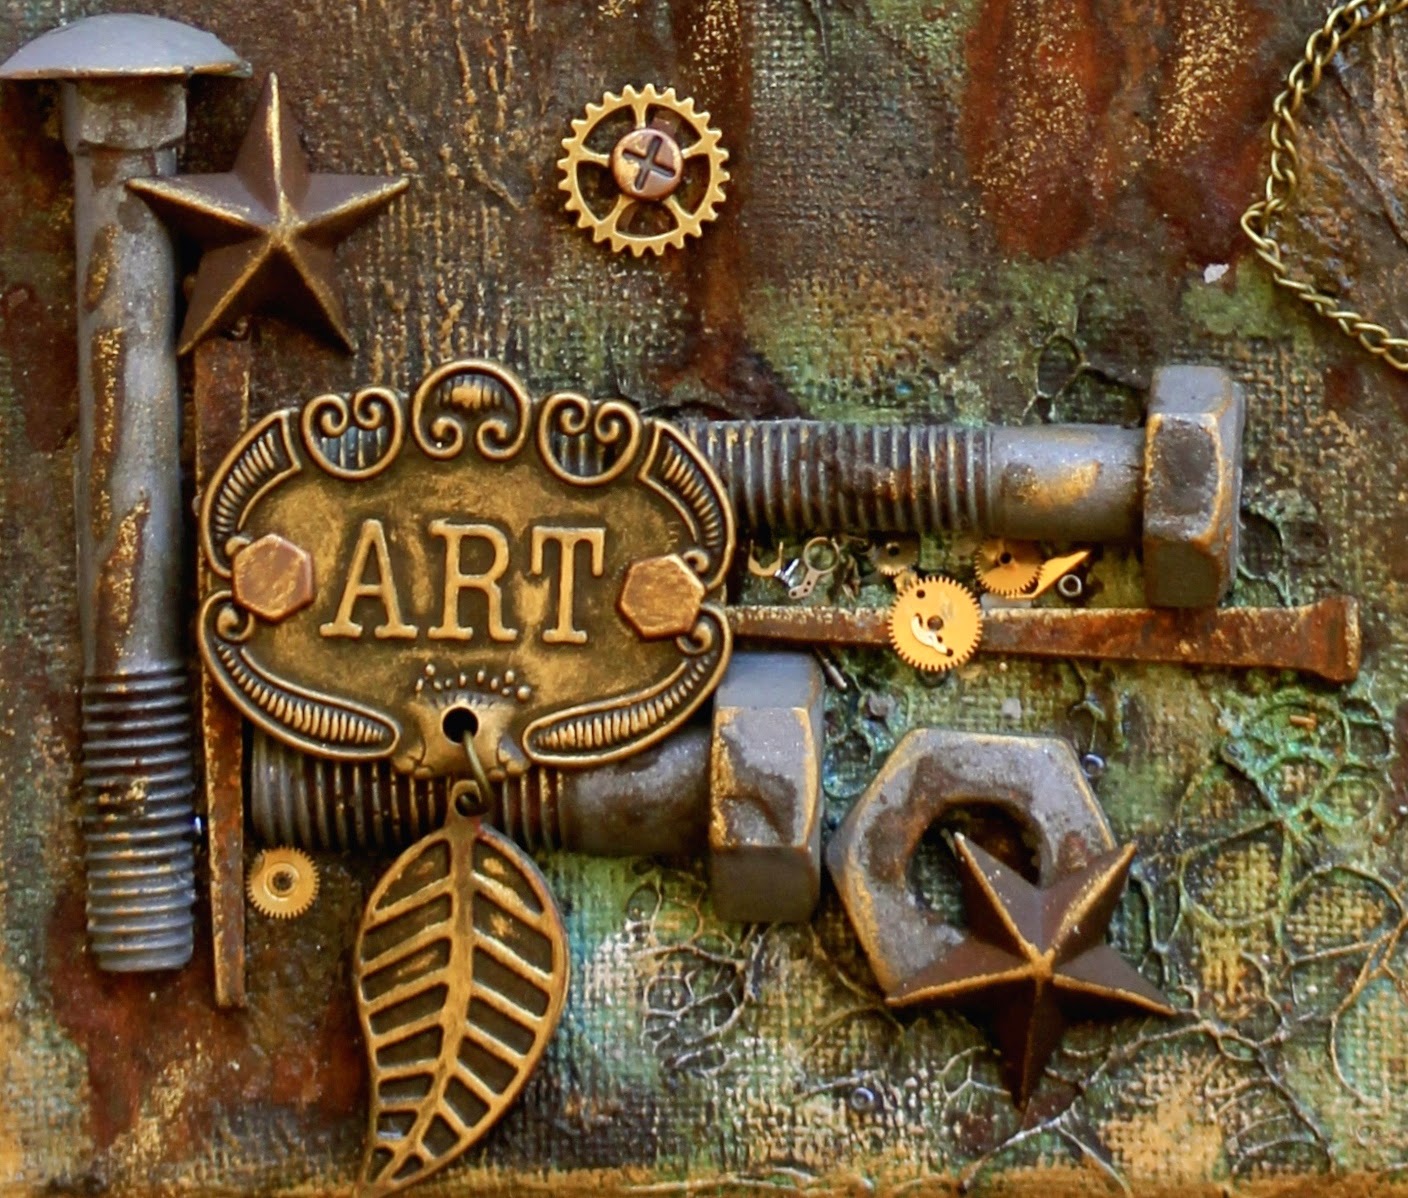
I am here today to share with you a steampunk style mixed media canvas. I wanted to push my color boundaries and go with something a little different (for me), I tend to stick to the blue/green color palette a lot. I decided to head in a rustic direction, however you can see I still managed to sneak in a little blue and green.

Products Used
Handmade rusty nails, rusty resin screws and bolts


I so love the Prima Stamp-N-Add Butterfly Wings, they are so funky and cool. I gave the wings a touch of Silks Pretty Peridot paint combined with a little Inka Gold on the wing edges.


The nuts and bolt have been created using hand poured resin into a mold. I painted the nuts and bolt with a combination of grey and silver paint and finished them off with a light dusting of rusting powder. They look pretty cool right?


Many thanks for looking, I wish you all a happy and creative day.

~ Rebecca ~

Tuesday, December 16, 2014

Mixed Media Challenge - Flying Unicorn

Hi Everyone,

I am happy to be hosting the mid month mixed media art journal challenge at Flying Unicorn. For the challenge I created this little canvas and tutorial. I hope you enjoy it.  
Products Used
Bombay Ink Cherry


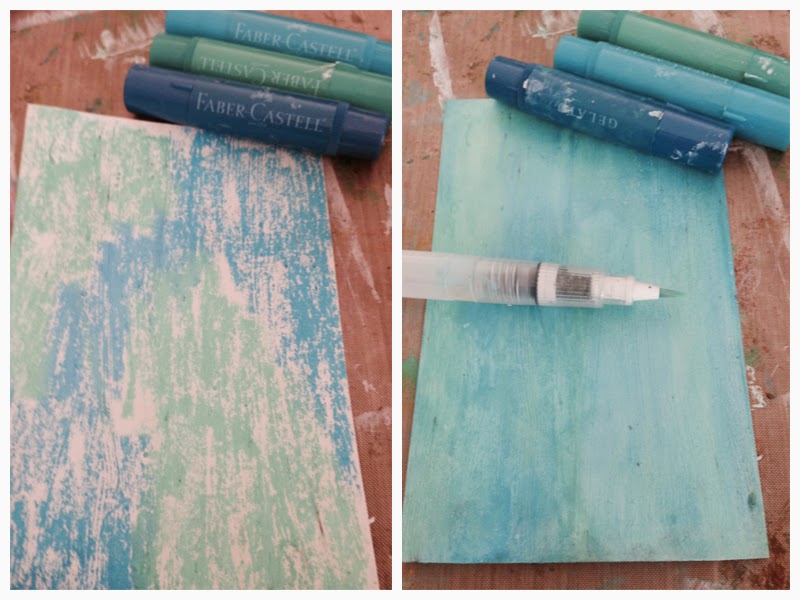
  • Scribble away some contrasting colours of gelato.
  • Blend with a water pen or even just a wet finger (this works very well). 


  • Adhere material to card stock and cut out your petals, then sew lines in to all including your base card stock. 
  • Adhere Flying Unicorn Adornments to create your funky flower form. 


  • Using a small amount of glossy accent glue down a selection of different coloured Art Ingredients Glass Beads. I used the colours Plum and Zinc. 
  • Trace around all your petals, grass, bubbles etc with PITT artist pen in black and smudge slightly with a damp finger (time to get those hands super messy!)
  • Add words of your choice, this was last minute addition for me as I thought it needed something else. These ones are Tim Holtz ideology Chit Chat. 

Tuesday, November 25, 2014

Tim Holtz Inspired Canvas - Flying Unicorn Creative Team

Hi Everyone,

Today I would like to share with you a little Tim Holtz inspired canvas. This has been created to showcase a few of my gorgeous treasured Flying Unicorn Adornments. I love them so much!! Sometimes I even feel a little sad when I glue then down, a loss to my little box of Flying Unicorn  treasures. However don't they make a project just pop? Just look at them!

Also popping this project is tissue paper, such an easy and inexpensive way to create texture. My background is tissue paper adhered with gel medium, texture paste through a stencil and then coloured with various shades of distress ink with a foam pad. I love the grungy vintage look, makes my little found relative family look dark and mysterious. 

Products Used
Golden Light Molding Paste


Many thanks for looking, I wish you all a happy and creative day.

~ Bex ~ 

Monday, September 29, 2014

Drab to Fab Shoe Conversion - Finnabair Creative Team


Hello Everyone,

I am so super excited to be sharing with you all my first project for the Finnabair Creative Team. 

Let's talk about shoes, who doesn't love shoes? combine craft and shoes and now we have a winning combination. It is no secret, I am a bargain hunter from way back. Constantly I gravitate towards the words 'clearance' and 'special'. It is not always a benefit to be tall with large feet, however when it comes to a clearance rack size 10's are often left needing a loving home.  Enter my new $5 pair of flats. 

These shoes were a blank canvas, asking for color and a bit of a spruce up, below you will see a before and after shot. 


As you can see in the below shot, Soft Gloss Gel will give your decoupaged shoes a beautiful lustre. 


Is anyone wondering whether or not these shoes will be ok if they get wet? to answer, yes they will be fine.  As Soft Gloss Gel is water based it will be permanent after drying and will resist water. However, yes there is a however. It is not recommended you go outside in torrential rain or go jumping in puddles (really for the same reason you would not put your varnished furniture outside). Decoupaged shoes should be cleansed with a wet cloth, certainly not washed. 

My YouTube tutorial will show you step by step how to create a pair of arty shoes yourself.


Products Used

Would love to see you all give it a try. Please think twice before throwing out those old shoes, maybe they just need a little upcycling?

I wish you all a very happy and creative day.

~ Rebecca ~