Tuesday, February 24, 2015

Mixed Media Reverse Canvas - Flying Unicorn

Hi Everyone, 

I am here today to share with you something a little different, this is a reverse mixed media canvas. Yes I understand there is quite a bit to take in here so let me explain what you are all looking at. A combination of many different mediums have been used, material, chipboard, metal, canvas, paint and crackle paste. I am very much a person who thinks along the lines of 'more is more', so I am very happy to present to you all this slightly over the top canvas :-). 

Products Used
Scrap material from my stash 


This little magenta house from Twiddleybitz was lots of fun to put together, small flat packed chipboard item.  It is super cute and the Flying Unicorn Adornments only enhance it further. 


Below you are looking at a chipboard tree decorated with material, buttons and Flying Unicorn Adornments. 


I may have mentioned one or ten times how much I LOVE Art Extravagance Copper Crackle Paste, it is an amazing product to work with and look at the results (crackly heaven).


Many thanks for looking everyone and as always if you have any questions please feel free to ask.

Wishing you a happy and creative day!

~ Bex ~

Sunday, February 15, 2015

'Time' for a makeover - Finnabair Creative Team

Hello Everyone,

I am here with you today to share a vintage makeover. When my husband returned from a work trip to London with 3 in need of repair vintage clocks I was OVER THE MOON excited. I knew straight away I would make over one mixed media style and possibly restore the other two to original condition (then again, I kind of like the way this one looks, so you never know what fate the other two hold). I ordered my clock mechanism from eBay and from there I sat and stared, literally for a few days. I had no idea what to do, where to start, why was I taking on such a big project? However never one to back down from a challenge, once that mojo hit, it HIT and I was off and racing, this is what I came up with. I hope you like it!!


To begin I removed the clock face and gave the entire clock a coat of Art Basics Heavy White Gesso, this included remove the back door and giving that a little paint too.


With a paint brush I carefully applied some Art Basics Soft Matte Gel  to torn vintage book text and adhered it to the surface of the clock in random places. Some of the text I wanted to do image transfer other parts I wanted to leave. With a water mister I spritzed random sections and began to rub back the book text to transfer the image. When finished some book text was right side up, others were mirrored, I was happy. 


This time I wanted to steer away from my usual blue, green or grungy colour choice. I went with colours opposite to what I would usually choose, magenta (Viva Maya Gold - Magenta) and violet  (Lumiere - Halo Violet Gold) was chosen. I held my breath and painted the entire clock. I am not going to lie, after I finished I thought, no no no, I don't like it. I 'attempted' to remove it with a cloth and water without success (oh oh, not really sure what I was thinking, as if that was ever going to work!!). However in doing this  I did manage to rub some paint back to the wood which in turn gave the clock an amazing rustic look (see above photo), win win. 


Using a Black Archival ink I stamped all over the clock with a combination of 3 different stamps (Cirlces, Small Doily, Book) I didn't think too much, just kept it very random and stamped away by hand minus a block. 


Last month my blog post for the Finnabair Creative Team included material, I wanted to again use material as I  really love the vibrant texture of it. I cut my material leaves and using my finger I wiped on a little Soft Matte Gel and then adhered the material leaf to some card stock. One dry using my sewing machine I stitched in three lines back and forth down the middle (very roughly). All the leaves were outlined with a black Faber Castell PITT pen, in retrospect this could have also been done after adhering (we all learn the hard way sometimes right?). With a small amount of 3D Matte Gel used I began placing my stitched leaves all over my clock. Some I cut in half to use on the outer edges and top of the clock. 

To make the inner black material flowers I followed a tutorial by the very talented Anneke De Clerck which was featured in the latest Craft Stamper magazine. Thank you Anneke, I loved making them!!.


The clock bezel was given  a fairly thick coat of Art Extravagance Texture Paste in Copper Crackle. This was applied with a very fine paint brush and gave the bezel a stunning crackled look. Before installing my actual clock mechanics I installed a more important Mechanical, my Prime Large Flower Mechanical.  The inner clock bezel was further enhanced with Art Ingredients Glass Beads in colours Cobalt Blue and Licorice.

At this stage I have my entire clock a coat of Soft Gloss Gel, this sealed in all my material and also gave the surface a fabulous gloss finish.


The Cobalt Blue beads arrived in my second Finnabair Creative Team kit. I really thought I had finished my clock before that box arrived, however when I opened those Cobalt Blue beads, ooooh la la. They just had to go on my clock too, around my flowers, inside my flowers and along the clock edge. Every single bead was lovingly hand placed, patience and therapy my friends. 

Products Used
Prima Vintage Vanity Stamp - Circles
Viva Maya Gold - Magenta
Lumiere - Halo Violet Gold

If you have any questions at all I am more than happy to help.

Wishing you a very happy and creative day!

~ Rebecca ~

Tuesday, January 27, 2015

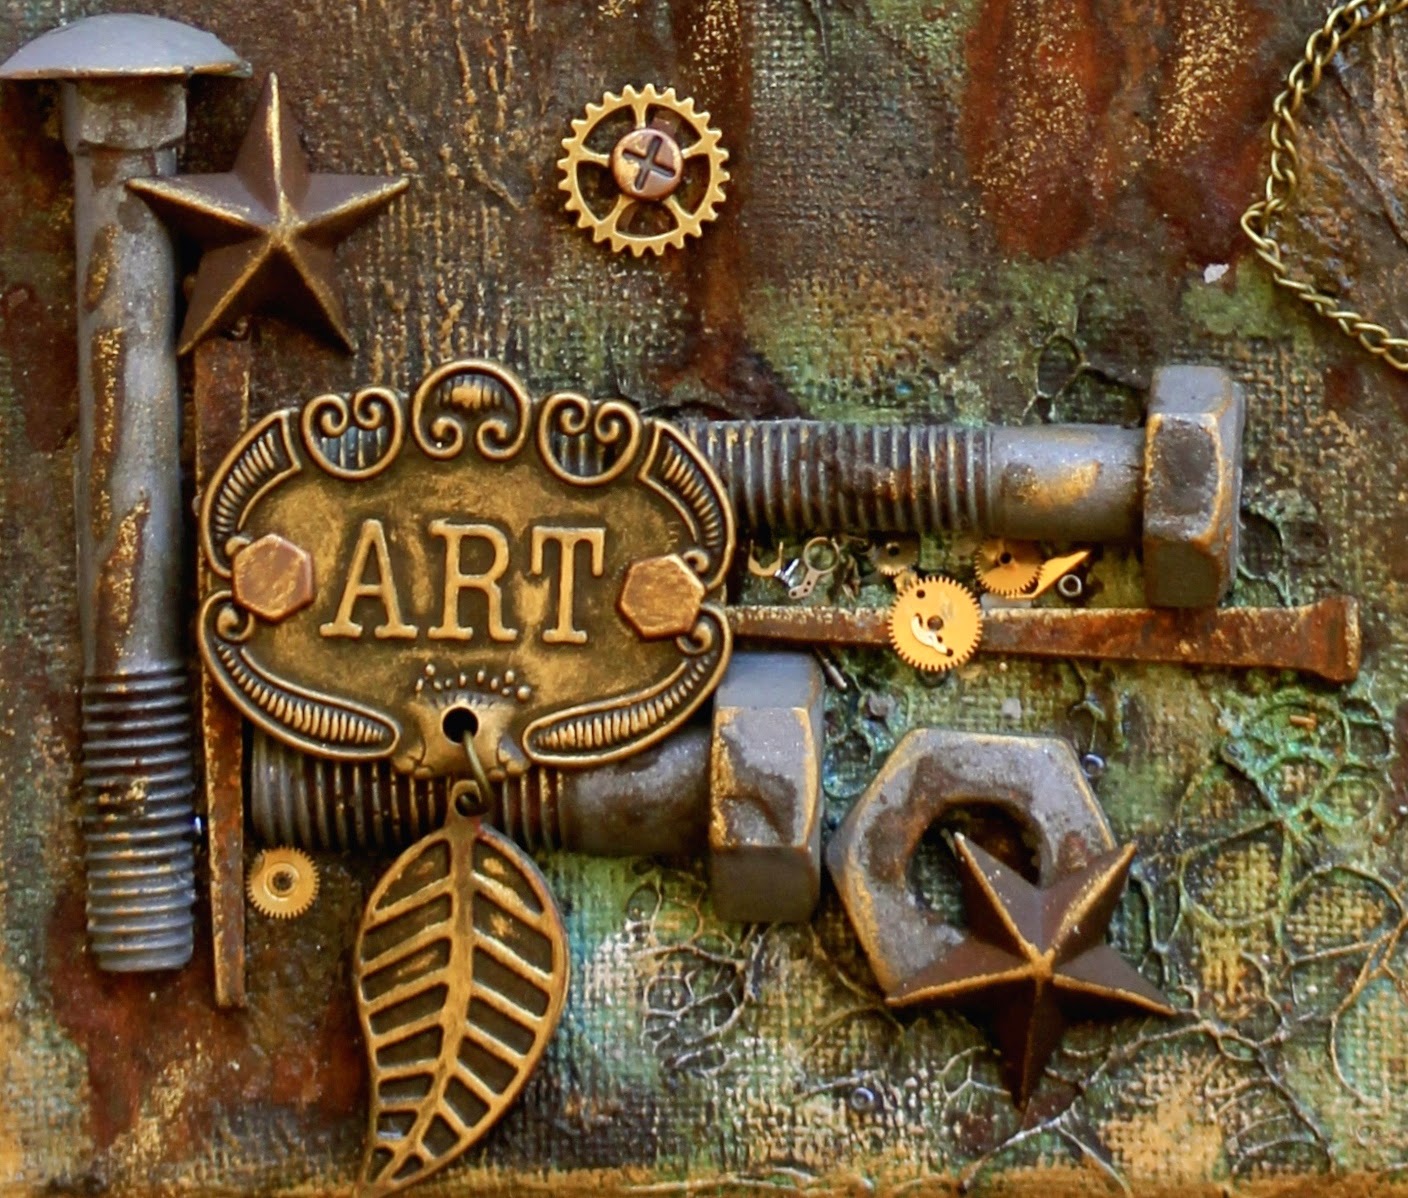
Steampunk Style Mixed Media Canvas - Flying Unicorn

I am here today to share with you a steampunk style mixed media canvas. I wanted to push my color boundaries and go with something a little different (for me), I tend to stick to the blue/green color palette a lot. I decided to head in a rustic direction, however you can see I still managed to sneak in a little blue and green.

Products Used
Handmade rusty nails, rusty resin screws and bolts


I so love the Prima Stamp-N-Add Butterfly Wings, they are so funky and cool. I gave the wings a touch of Silks Pretty Peridot paint combined with a little Inka Gold on the wing edges.


The nuts and bolt have been created using hand poured resin into a mold. I painted the nuts and bolt with a combination of grey and silver paint and finished them off with a light dusting of rusting powder. They look pretty cool right?


Many thanks for looking, I wish you all a happy and creative day.

~ Rebecca ~

Friday, January 23, 2015

Sparkle & Shine Blog Hop & Challenge


Hello Everyone,

Welcome to our Sparkle & Shine blog hop and challenge, thank you so much for stopping by, hopefully you arrived here after visiting the super talented Elena Morgun's blog. 

The project I would like to share with you is a box, this box arrived into my hands after purchasing a pair of sunglasses. I never ever throw away a good box, they are always upcycled into something new. The perfect gift for a good friend, especially when they are filled with chocolates. 


Products Used


Here's how our challenge works:

First of all, make sure you blog hop with our Creative Team. Below you can see the list of all the blogs where you can find some really breathtaking artworks.


Make sure you visit each of the ladies to see in detail how they played with all kinds of sparkling materials. Don't forget to leave a kind comment!


We hope you'll feel inspired and ready to create some sparkle of your own!

The rules of the challenge are very simple indeed - you can create any kind of project (layout/art journal/altered art/ATCs etc) and our Creative Team will vote on their favorite one.


The only rule is: making it sparkle & shine!

The challenge's open 'till February 8th.

Look at this amazing prize you could win...ooooooooh ahhhhhh isnt it beautiful?

Monday, January 19, 2015

Mixed Media Purse - Finnabair Creative Team

Hello Everyone!

I am here he today to share with you all a mixed media purse which I recently created. This small plain balsa wood purse had been sitting in my stash for quite some time, just waiting for the right moment to be given some love and crafting affection. Being a fan of vibrant colours, purses and dangly purse things (I am sure they have a name?), what better project to do than to combine them all together into something amazing. 


To begin I gave the balsa wood bag a light coat of Heavy Gesso (White) and allowed to dry. 


Strips of vintage book paper and washi tape were layered randomly on the front, back and outside edges of the bag. To adhere them to the wood Soft Matte Gel was used. 


To create a small amount of light texture Soft Matte Gel was applied to the outer areas of the bag with a palette knife through the Bubbles stencil. To create the vibrant colour 4 different colours of Dylusions Ink Spray was applied, shading from blue down to green (Calypso Teal, London Blue, Fresh Lime, Cut Grass). 


It is no secret that I love Art Extravagance Texture Paste in Copper Crackle, if you have not used this product yet you really must as it is amazing. On the front of my bag I applied a fairly chunky layer of texture paste and then sprinkled a combination of Copper Glass Glitter, Licorice Glass Beads and small watch parts. I gave them a gentle press to ensure they adhered to the texture paste. With a small amount of Soft Matte Gel I adhered Copper Glass Glitter and Licorice Glass Beads over my material lined Pendant Caps. To finish my Pendant Caps I added two Tassels using jump rings.


Having recently been given a large bag of fabric scraps I used a few different colours to give my bag edges and flower petals a bit more colour. These were adhered to my bag using Soft Matte Gel. A black Faber Castell PITT Pen was used to outline all edges, this included lining all the material, petals, title and my texture paste 'dirt'. 


I almost left the handle in its original state, but nothing wrong with a bit MORE colour right?? the handle was wrapped in various layers of thin strips of material. In order to seal the outer bag and handle I applied a layer of Soft Gloss Gel. Not only did this seal it with an untacky finish it also gave it a lovely gloss lustre. 


To adhere my rusty nails, pendant caps and inner flower mechanicals I used a small amount of 3D Matte Gel. I created a dangly purse thingy (please someone reply and tell me if these 'thingys' have a name) using mechanicals pendant cap, leaves, a key and some random material scraps and ribbon. 


Products Used
Dylusions Ink Spray Calypso Teal


I ask you all to think outside the box as craft can be worn as an accessory, why not give it a try yourself?. Please if you have any questions at all do not hesitate to contact me, I am more than happy to help out. 

I wish you all a happy and creative day.

~ Rebecca ~


Thursday, January 15, 2015

Mixed Media Challenge Jan/Feb - Flying Unicorn

Hi Everyone,

I am happy to be hosting the mixed media / art journal mid month challenge for Flying Unicorn. 

For inspiration for this challenge I have created a double art journal page for you all. The tutorial below will outline how the background was created. Please if you have any questions feel free to ask. 


Products Used
Prima  Sunrise Sunset Paper Collection
Faber Castell PITT Pen Black


1) To begin I gave my double page a coat of Heavy Gesso in color white.
2) I layered paper strips from the Sunrise Sunset collection combined with strips of resist canvas.
3) Random strips of dry wall tape were added.
4) A white wash of water combined with gesso was then painted over the double page.


1) Using a palette knife I applied some Art Ingredients Light Paste through the harlequin stencil.
2) While the light paste is still wet I sprinkled on both mica flakes and glass beads.


Ever used Art Extravagance Crackle Texture Paste? It is amazon!!! and crackles so so well. I LOVE THIS stuff (yes capital letters LOVE). I added a thick spread onto a canvas heart and left it outside in the sun to dry. Look at those amazing cracks. 


My title was created using block stamps, I cut them out and inked the edges. Using the Doily stamp with brown ink I randomly stamped all over the two pages.


The color for my pages is Primary Elements Artist Pigments in Burnt Umber, Ginger Peach. Rose Gold and Yellow Rose. A small amount of powder was mixed in a spritzer bottle. Using a PITT pen I outlined random sections and smudged with my finger.

Thank you for looking, I wish you all a happy and creative day.

~ Rebecca ~

Playdate Thursday - Flying Unicorn

I am here with you today to share a Playdate Thursday technique with you all. Lets talk about Pan Pastels, I am guilty of buying A LOT of them but very rarely using them. However it is new year and on my list of goals this year is to learn more about my craft products which I rarely use and to actually start using them. My background color below has been created with varying shades of pink, blue and purple Pan Pastels.

Products Used

To begin you will need t a stencil and a VersaMark Watermark Stamp Pad (or other embossing pad). I applied the stamp pad directly onto my canvas through the Prima Finnabair Bubbles Stencil. 


Once the ink had dried I begin dabbing on Pan Pastel color with the Pan Pastel foam pad. Using black Pan Pastel I outlined the border.


White Pan Pastel was applied to give shadow to some of my larger bubbles.


Using a black Faber Castell Big PITT Pen I added some black outer shading to the larger bubbles smudged the line with my finger.


A little flick of White Linen Dylusions Ink Spray. 


To complete I layered my Flying Unicorn Adornments, added some Art Ingredients Glass Beads (Licorice) and dabbed on some Viva Inka Gold. Please note the Flying Unicorn Adornments were given a light brush of Silks Paint in colors Sky Blue, African Jade and Rich Cobalt. 


Many thanks for looking, please if you have any questions at all be sure to come visit the Playdate Thursday thread in the forum.

Wishing you a very happy and creative day.

~ Bex ~